Maintaining your
vape mod to the best possible standard can save you a small fortune in replacement parts.
If the type of
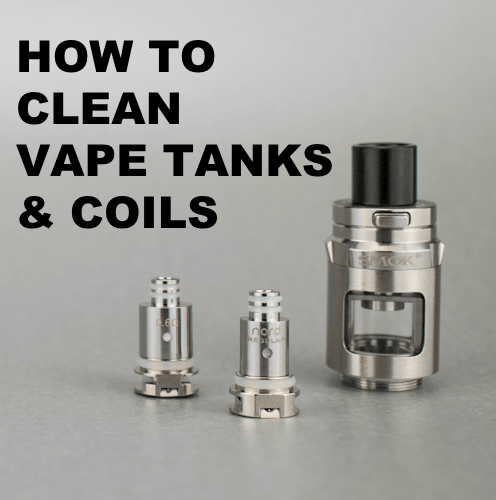
vape device you use features a vape tank (the section that holds the vape juice) and coil, (the mechanism that heats the E-liquid/vape juice and turns it into vapor). These are the two parts of the vape that will need to be cleaned the most.
To keep your vape pen or box mod kit working in tip-top shape, we've put together this handy guide packed full of tips for cleaning your tank and coil.
How to Clean a Vape Tank?
To avoid mixing vape juice flavors, you should clean your tank every time you change your E-liquid.
This also prevents a build-up of liquid residue, which can potentially clog the device or short the connector.
Cleaning the vape tank is simple and easy, just follow the steps below:
- Unscrew the tank from the battery device and remove the coil from the tank.
- Next, run the tank and mouthpiece under warm water to get rid of any remaining E-liquid.
- After you've washed out any excess vape juice, add the tank (and only the tank) to a bowl of warm water (For a deep clean, you could add washing-up liquid, but make sure you thoroughly rinse the tank afterward as it can affect the taste of any new liquids.)
- If it's been a while since you last cleaned your tank, try using a soft toothbrush to ensure any built-up residue is scrubbed away.
- Once the tank is crystal clear, dry with a cloth or towel and leave it in a ventilated area to allow it to dry further.
Already cleaned your tank, but there's still a peculiar taste? It might be time for a new vape coil.
If you're looking for a backup tank or style refresh, explore our range of vape tanks, including classic and sub-ohm tanks for awesome clouds and great flavor.
How to clean a Vape Coil?

Unlike the vape tank, which can be cleaned with plenty of water, cleaning a
vape coil is a much more delicate and time-consuming process.
If you use a DIY coil, cleaning can help to prolong its lifespan and help you save money, although the process is complicated, and you can't just use water.
For those of you committed to cleaning your DIY vape coil, we recommend cleaning it thoroughly with vinegar or alcohol.
Cleaning Vape Coils with alcohol or vinegar?
There are two methods of cleaning DIY vape coils with alcohol and vinegar, these are:
- Soak the coils for a few hours or overnight.
- Soaking the coil with the wick still intact will make it harder for it to absorb vape juice next time - although this method is recommended for the deepest cleans.
- Once you have soaked the coil in alcohol or vinegar, you will need to rinse it with plenty of water to avoid leaving a nasty after-taste.
- Swab the coil with a cotton bud soaked in alcohol or vinegar.
- Swabbing the coil with a cotton bud will clean the coil; however, not to the same extent that soaking it will.
Cleaning your vape coil, whether DIY or replaceable, can prove to be difficult and tedious, so if you think your coil may need some attention, it may be easier to replace it.
Choose from our extensive range of vape coils that cater to a variety of different resistance options, so you can find the perfect vaping experience.
Have you considered a Disposable Vape?

If you're new to vaping or are looking for an option you don't need to maintain, we would recommend using a disposable vape.
Designed to be thrown away after a certain number of puffs, you don't need to worry about scrubbing tanks or soaking coils, simply pick up and go.
If you'd like to save yourself the hassle of constantly replacing your disposable vape, try out our collection of refillable pod systems, vape pens or box mod devices.
For all the latest tips, advice and insight into how to get the best experience while vaping, make sure you check out our dedicated blogs.
This is a feature from Vaping.com UK. If you are looking for the best products available in the USA, check out our collections below.
Shop By Vape Brand
Shop by Vape Type


Leave a comment
This site is protected by hCaptcha and the hCaptcha Privacy Policy and Terms of Service apply.